
SETUP INSTRUCTIONS

The XL has an offset spring hinge so installation is different than the large.
Fill the BGE with charcoal - 600º-700ºF cooking consumes charcoal faster than a regular cook.
Setup:
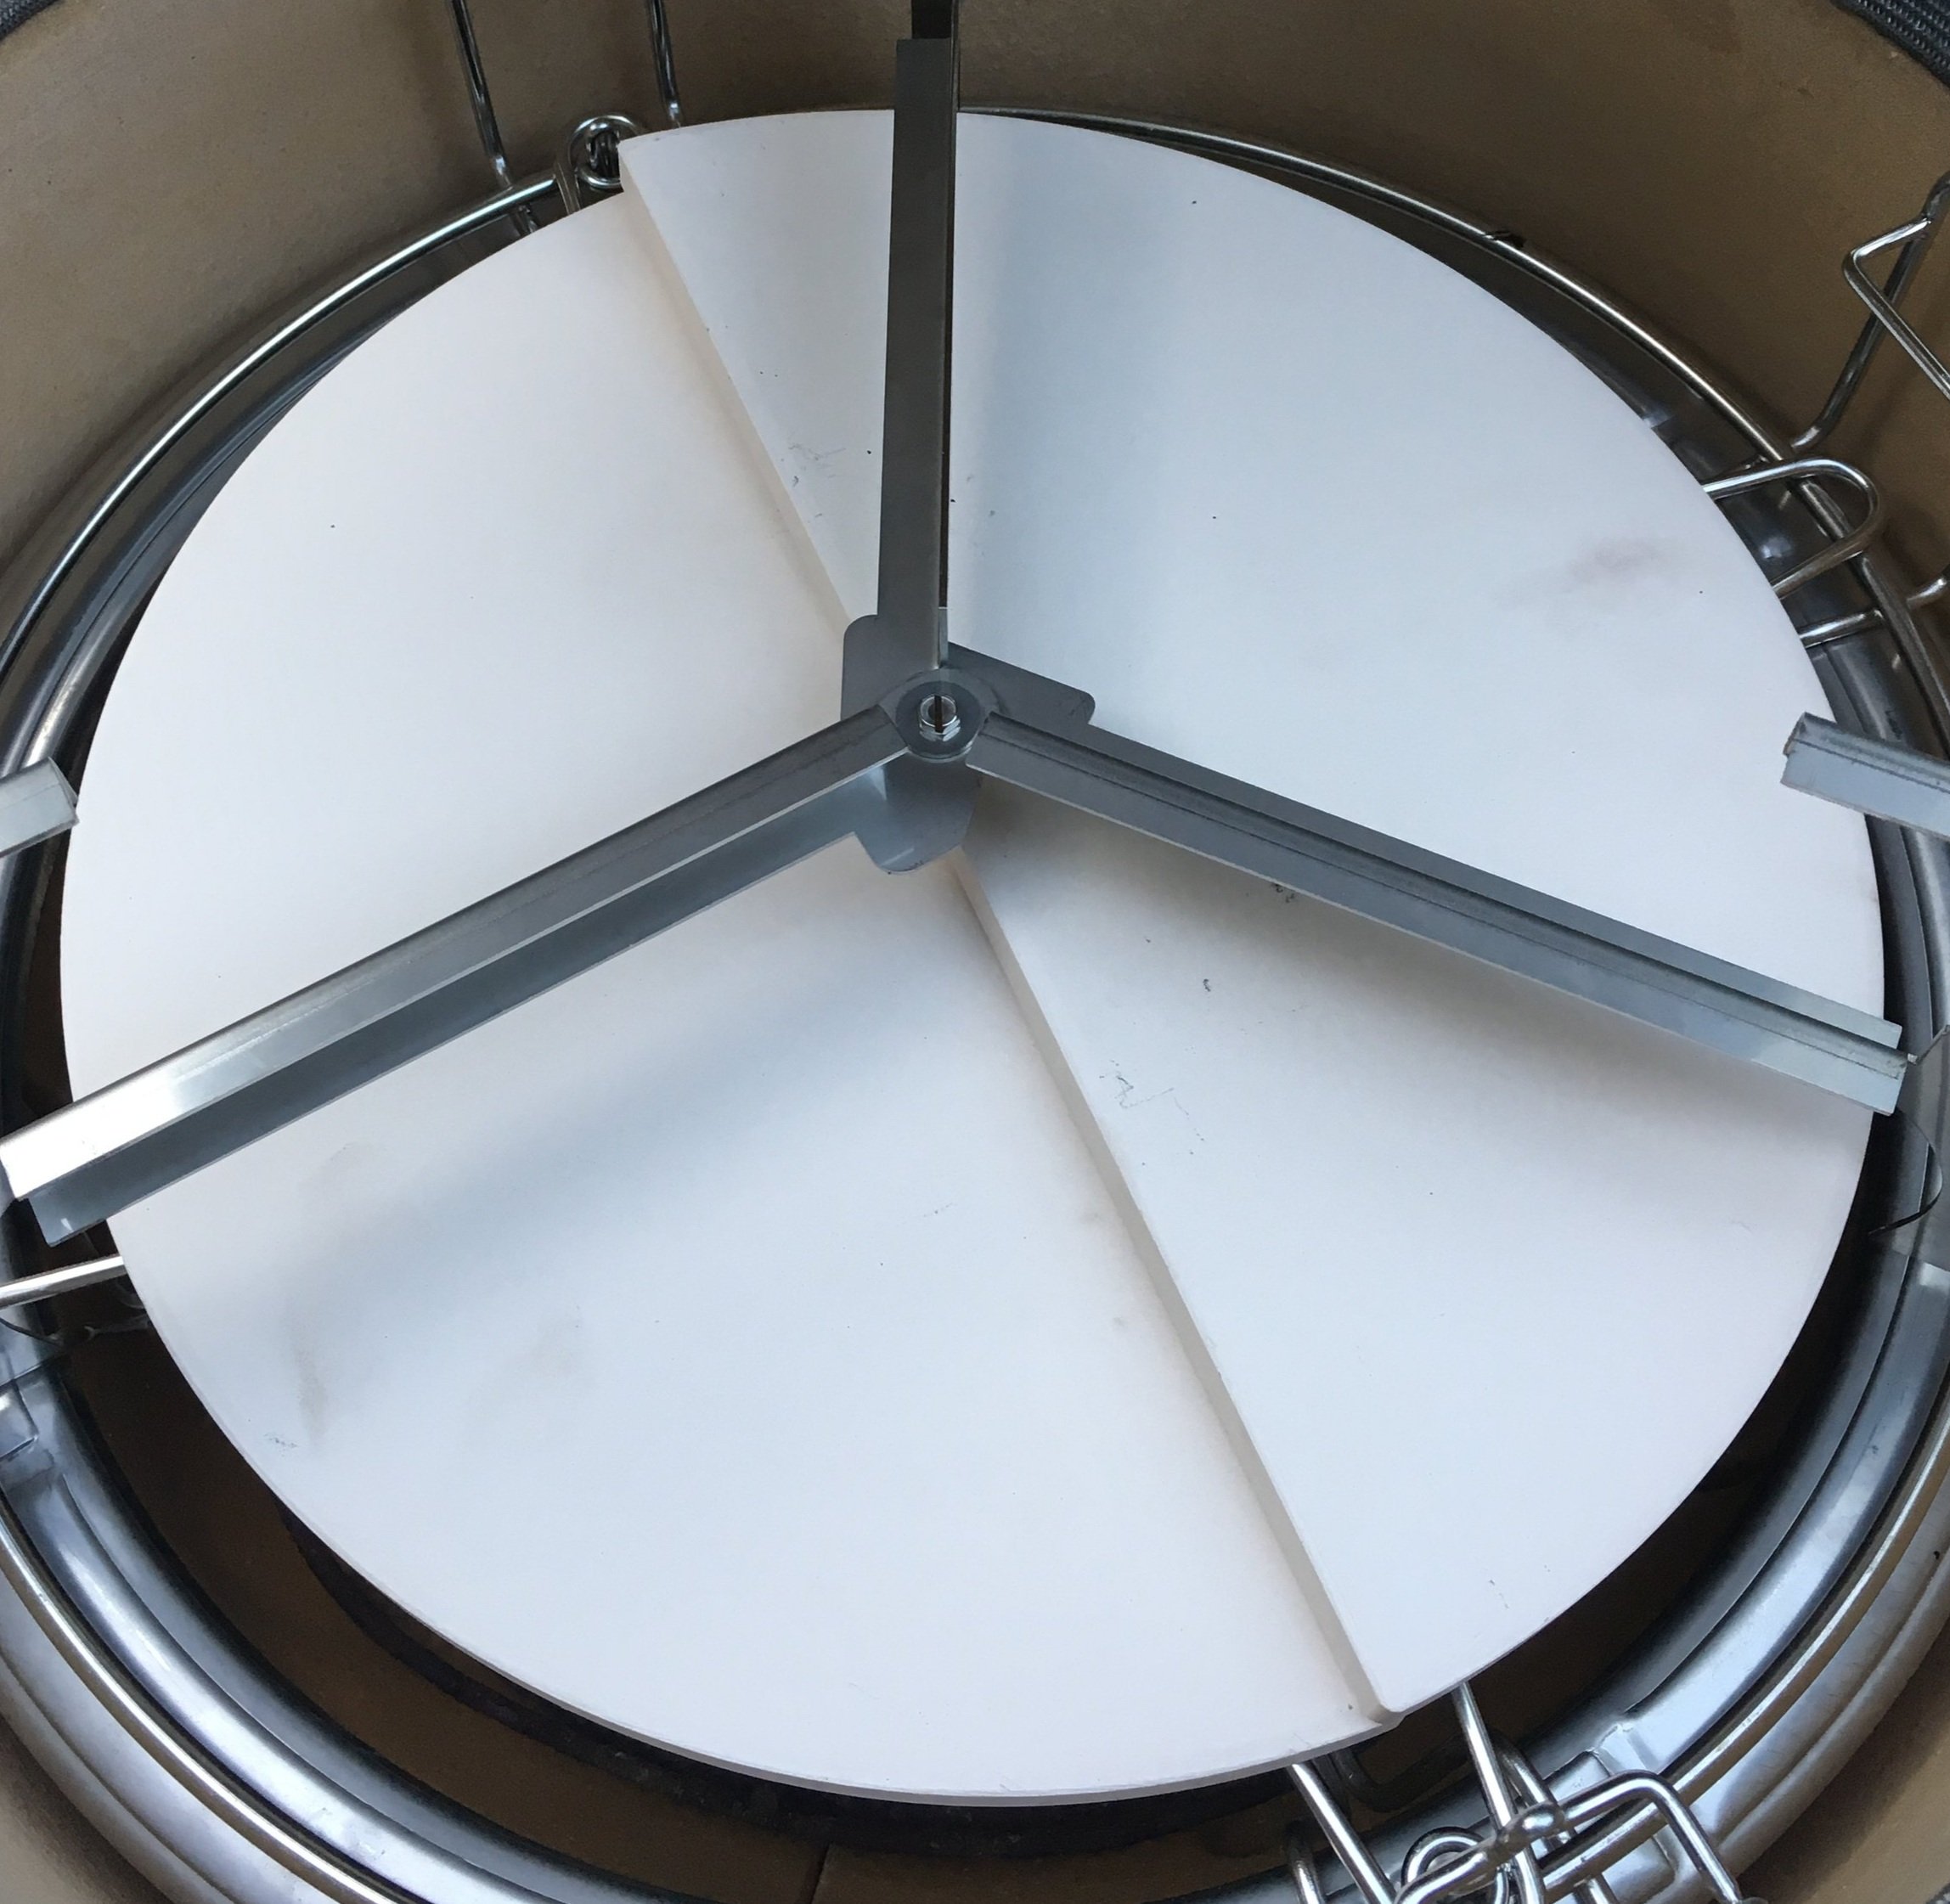
Start by placing the plate setter with legs down. Make sure one of the legs is positioned toward the front. The plate setter should not sit down in the notches of the fire ring. Then, place the cooking grate to separate the platesetter from the pizza stone. Additional spacers can be placed here. I choose to place an additional deflector under the pizza stone - in this case an aluminum deflector. Then, place the pizza stone. The challenge in cooking in a Kamado is that all the heat is below the stone. Deflectors and spacers protect the bottom of the pizza stone and trapping the heat in the dome raises the temperature of the ceramic of the dome. I recommend the 14" stone on the XL as the larger stone extends beyond the plate setter and blocks a great deal of heat. If you have the XL stone, make sure to space it up above the felt line to allow heat to flow around the edge.
Installation:
Set the Pizza-Porta on the base of the grill positioned slightly offset toward the front (1/2"). Lower the dome. Just before the dome is fully closed push the Pizza-Porta toward the rear, positioning it left and right at the same time to center. The metal safety tabs on top of the Pizza-Porta should be inside the dome allowing it to close tightly around the perimeter. The rear of the Pizza-Porta does have some flex in its design and may be a bit tight on the first fitting.
Troubleshooting:
The hinges of the BGE allow some variability in their adjustment, and unfortunately, they can drift a great deal with usage. It is very common for the XL to get out of alignment. The band is very long, and the dome is heavy for this gauge hinge. Sometimes dealers even get the hinge too high or low. If the Pizza-Porta does not fit as described above, ensure that the hinge bands are 10mm (3/8”) apart all the way around, and that they are centered over the seam between the top and bottom ceramic components. Follow the BGE instructions for the adjustment procedure. HERE. A 1 degree difference at the hinge turns into a 1/2” gap at the handle! Tighten the bolts regularly as prescribed by BGE.
Here is a diagram of what to look out for if you have a gap, or the Pizza-Porta will not slide all the way back into place. Note that the bands can also become misaligned left and right.

Hinge Alignment
Setup with the EGGSPANDER cooking setup
The new deflector setup for the XL has 2 half-moon deflector plates to replace the three-legged plate setter. These deflector plates are significantly larger and constrict the airflow as well as deflect the heat of the fire for indirect cooking. Place the half-moon deflectors on the rack and then the metal cooking grate on the rack. Placing the pizza stone on top of the cooking grate will provide about an inch of air gap over the deflectors. If your grill is not getting hotter than 500ºF, we recommend that you put the deflectors on the lower setting but overlap them in the middle by an inch to allow more air to flow around the outside edge.
Big Green Egg - Older model hinge sag bulletin
We have run into a couple of instances of hinge sag. (From our experience, this is very uncommon) The Pizza-Porta would not fit even when the hinge was adjusted precisely to the factory setting. It is unclear if this was a quality issue or the hinge arms have worn. This is what a grill looks like when the hinge has sagged.

The hinge arm that bolts to the band should align the pivot point (highlighted here) with the bands of the hinge. On this example grill, you can see that the arms holding the hinge points have worn or sagged and are off of this alignment making the grill opening at the rear significantly tighter. The Pizza-Porta will not fit into this grill. A replacement hinge from BGE is required.
